How to Rig a Jig Head with your Shad Swim Bait
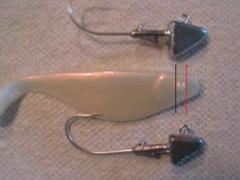 Step 1: Depending on what size head you use will determine where you should cut the shad body, If you are using a 3/4oz. head you will be cutting on the black line just behind the eyes on the body, cut in front of the eye(red line) when using the 1/2oz. head.
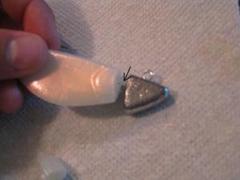 Step 2: Line up the shad body so it’s flush against the back of the jig head and make a note of where the hook will be inserted into the front of the shad body.
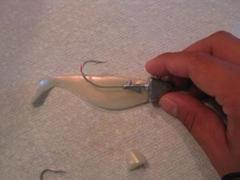 Step 3: Now line the shad head in front of the shad body and see where the hook is to come out of the back. Until you feel confident in “winging it,” I would use a sharpie and mark where the hook needs to come out. MAKE SURE YOU MARK THE DEAD CENTER OF THE BACK! You want to make where the base of the hook comes out and not the furthest point of the hook (in red).
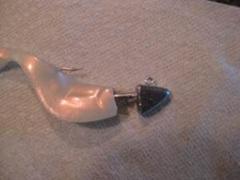 Step 4: This part is the hardest for beginners and will most likely require some practice to get the handle of it. Insert the hook into the area where you made the mark in the head of the shad head. AGAIN MAKE SURE YOU START IN THE CENTER AND NOT TO THE LEFT OR RIGHT. Now slowly move the shad body up the hook. The body might twist in the process but it’s okay as long as you keep the hook centered. Once you feel like the hook point it where it needs to be in order to come out you need to slowly push the hook point though the back to see where its coming out. If it’s right on the sharpie mark your good to go!
Step 5 (optional): Before sliding the body onto the barbs and to the base of the jig head, take some super glue and put some on the barbs and the back of the jig head - not too much just a little will do!
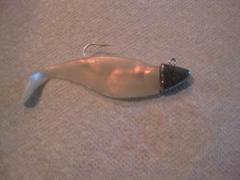
Here is what the finished product should look like.
